In this article, we describe the steps to install the LoadGen Cloud Citrix or Microsoft Remote Desktop Add-In.
Create the Target Environment in the LoadGen Cloud
The first step is to log in to your LoadGen Cloud tenant, follow the steps to login into this article. After you are logged in to the LoadGen Cloud, please follow the next steps:
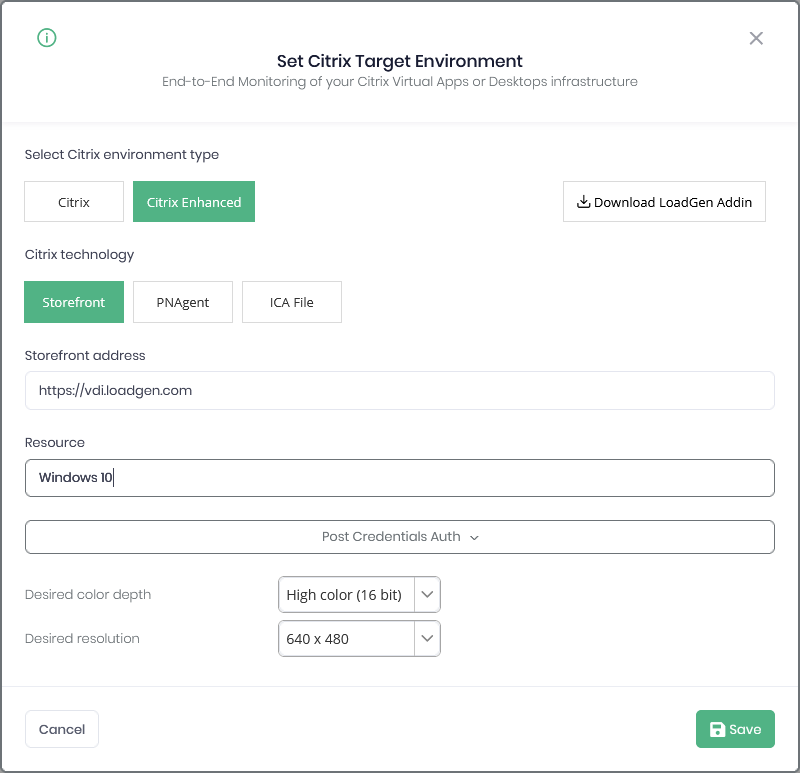
- Go to Target Environments.
- Select the Citrix Enhanced or Microsoft Remote Desktop profile and open it.
- Download the LoadGen Addin.
Installation of the LoadGen Cloud Citrix or Microsoft Remote Desktop Add-In
- After you download the LoadGen Add-in installer, copy it to the appropriate machine.
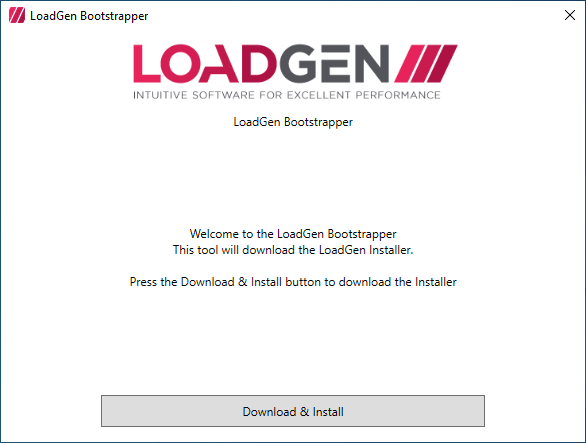
- Start the LoadGen Add-in installer by executing the LoadGenAddin.exe file.
- We will first check if there is a new version available for the LoadGen installer. Just press the Download & Install button to proceed with the installation process.
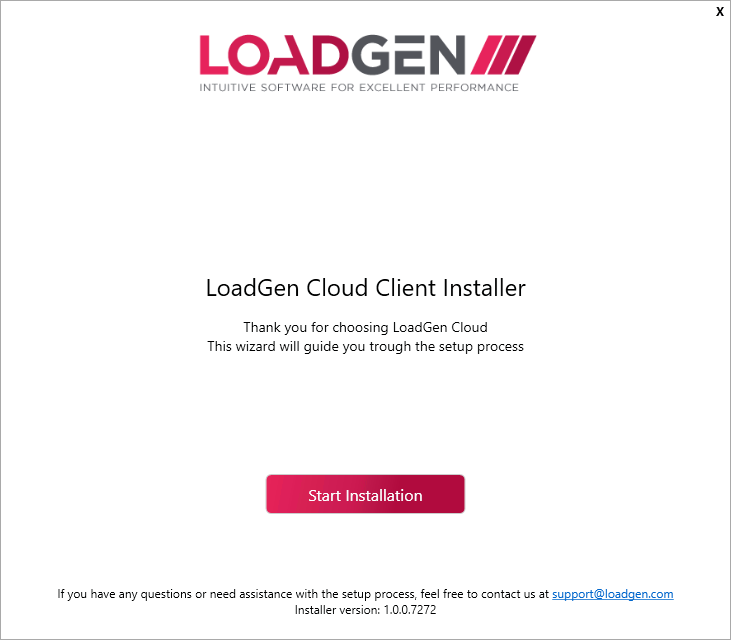
- The LoadGen Cloud Client Installer process is ready to start. Press the Start Installation.
- Scroll down and press the I Accept to accept our EULA.

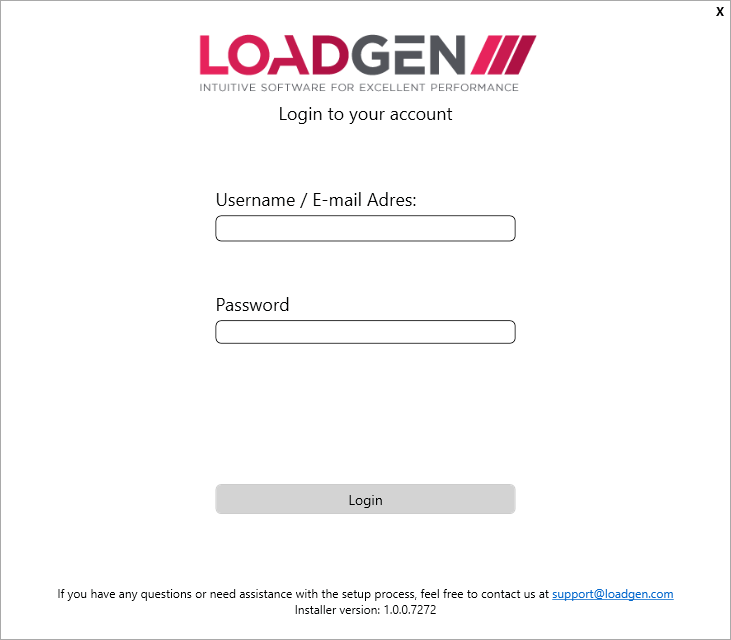
- Enter your LoadGen Cloud username and password to log in to your LoadGen Cloud environment.
-
Select the LoadGen Cloud Citrix or Microsoft Remote Desktop Add-In based on the Target Environment profile you created in your LoadGen Cloud environment, then press the Install button.

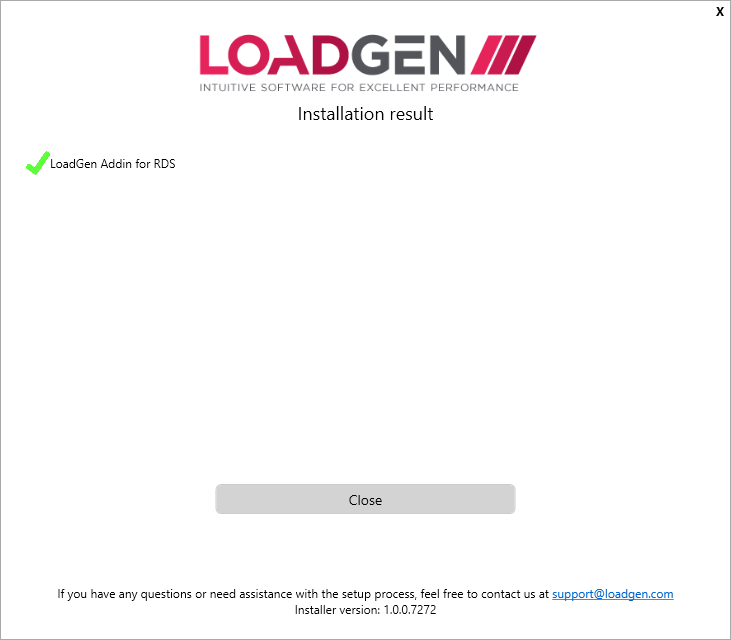
- Installation is complete. In the LoadGen Cloud, you can now check if the LoadGen Agent is online.